Open the torn brush zip you downloaded and select the 4 psp.brush files.

Drag them to the PSP workspace.

I only be demonstrating one, however you will do the same for the other three.
First: Layer>Promote Background to Layer.
Second: Image>Canvas Size. Increase height and width 1" and chose the center placement.
Third: Select the magic wand. Set tolerance to 50. Click on the white area.
Fourth: Selections>Modify>Expand. Make it 1 pixel.
Fifth: Selections>Modify>Feather. Set to 2 pixels.
Sixth: Hit the delete key on keyboard.
Seventh: Get crop tool. Place just inside the dark area on the straight edges and a couple of pixels from the tallest tear and apply.

Eighth: Image>Resize. In the pixel dimension box, make sure it is set to pixels and change the largest number to 999.

Ninth: File>Export>Custom Brush.

Tenth: Name (same as original. When you open this box it will have the last named brush already, make sure you change it). Set step to 1. Author (in this case deviantart). Click okay.

Now complete the other three. We have one more step and you can do all of them at the same time then.
Lastly go back to your brushes folder in My PSP Files; highlight the brushes and scripts and move them to your deviantart folder.

You will have to close then reopen PSP for them to show up. You can use this technique to make brushes from just about anything. Just remember it can't be any larger than 999 pixels. Vectors work best, but you can use some raster files too.
Next time: All Torn Up.
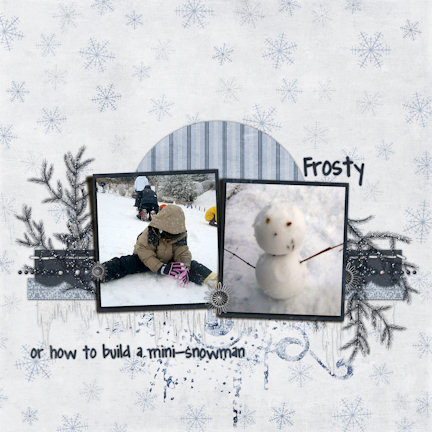
Template by Mye de Leon; Snowed Under (c)Lindsay
Jane Designs; Font: Pea Angedawn
Jane Designs; Font: Pea Angedawn
No comments:
Post a Comment
Note: Only a member of this blog may post a comment.