All of the palettes can be located under view on your top toolbar.

As you hover your cursor over the palette arrow (or name) a pop up will open. The ones I have outlined are, in my opinion, absolute must-haves, and, I believe, are already docked when you install PSP, along with a few others.

Docking... a strange word to find in a graphics program but that is exactly what you can do with your palettes. By clicking/holding the header bar of any palette you can move it anywhere on the workspace or desktop.

As you move the palette to the edge of the workspace, it is going to want to "dock." Lock into place, so to speak. I find it convenient to have those I use all the time docked so I don't have to keep moving them out of the way.
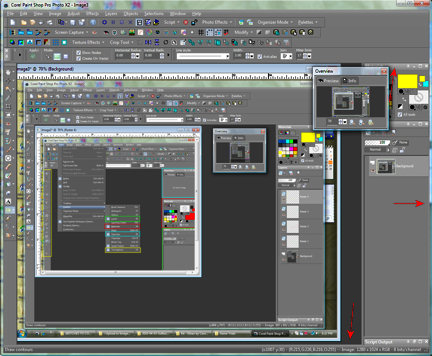
The overview palette is a wonderfully versatile tool. The info tab gives you all the information about your picture, size, color depth, etc. Nice, but the one I use consistently is the preview. From here you can increase/decrease the viewing size as well as a one click to see it 100%.

What really makes it worth its weight, is if you are viewing your photo at a size that is larger than the workspace. The preview window will be darker everywhere except what is showing on the workspace.

You can take that little window on the preview and move it around to part of your picture and you will find that your photo on the workspace is moved to the same area. Give it a try. Much faster and easier than using the scroll bars.

To be con't: Lay it down, part 2

No comments:
Post a Comment
Note: Only a member of this blog may post a comment.